Updated: September 6, 2018
Requirements:
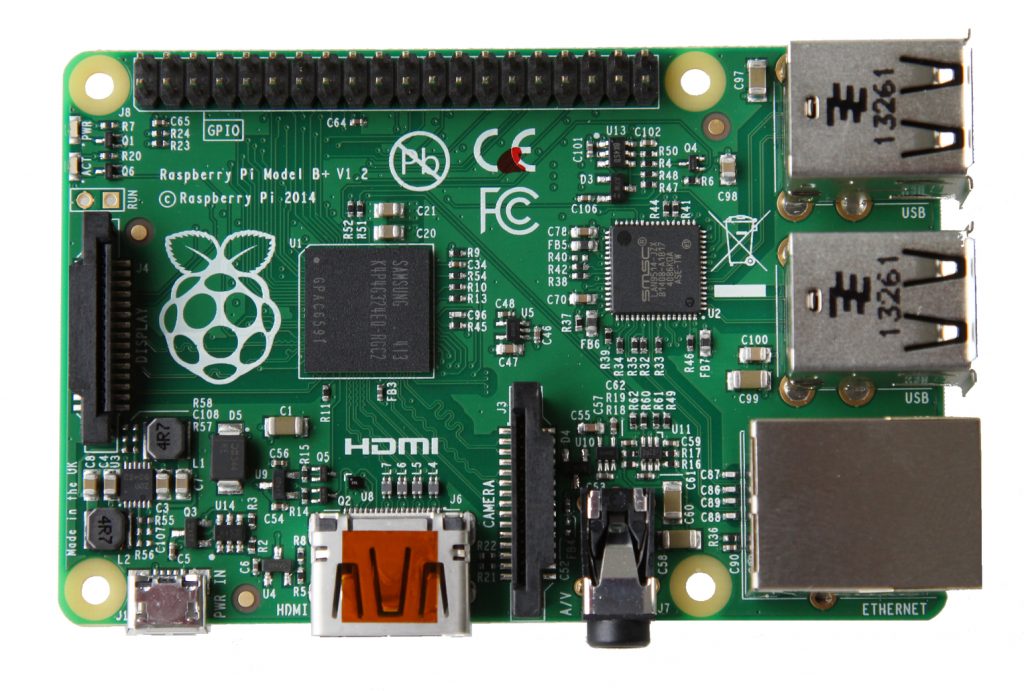
- Raspberry Pi 3.
- A blank SD or Micro SD (Raspberry Pi 2) SD card.
- A 480 x 800 display such as this.
- Windows users will need to download the latest version of Image Writer for Windows.
- For booting the Raspberry Pi: USB keyboard, micro USB power source (5V recommended). A portable battery pack like this can also come in handy.
- A separate computer with SD card reader for burning the FreeBSD image to the SD card.
7. Either an ethernet cable or a USB WiFi dongle, like this, to connect the Raspberry Pi to the internet.
Step 1: Installing the FreeBSD image for Raspberry Pi
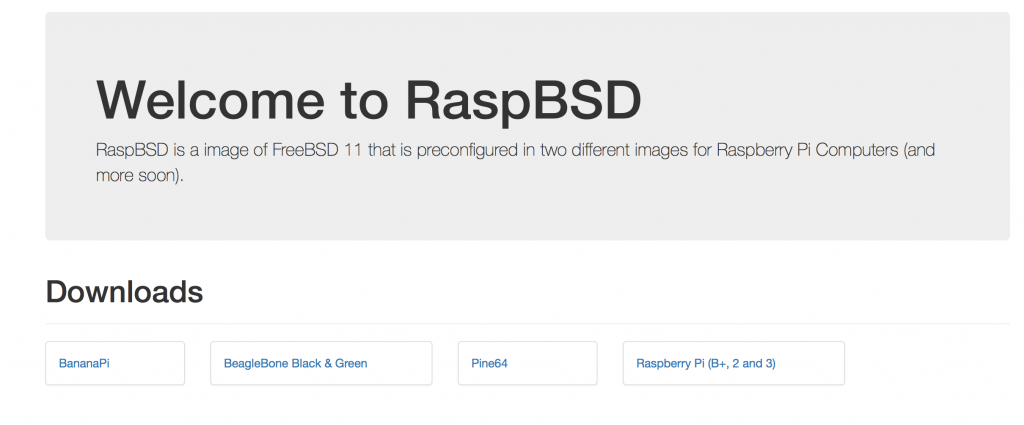
- Visit the RaspBSD release page, found here. This should be done on the computer you are using to burn the image. Select the download link for the type and class of Raspberry Pi you will be using. Once the file has been downloaded, it will be in a .gz format. Double click the file to decompress to the .img file.
Step 2: Writing the Image File using dd
- When using an SD card, an extra step will need to be made as simply copying the file will not work with .img files. This is where the dd command comes in (Image Writer for Windows users).
- On Mac/Linux open up the Terminal, located in applications or utilities depending on your OS.
- Enter the following commands. I’ve included the explanation of the command on the right. Only enter the command line:
Warning: This example uses /dev/disk2, replace it with your disk location.
| sudo su | Logs the user into the Super User (root) environment. On Mac you may have not set up a root account, if this is the case, refer to this guide. This requires the root password. |
| diskutil list | List the available disks. The memory stick should be listed. Take note of the location. |
| diskutil unmountDisk /dev/disk2 | Unmounts the volumes on the target disk.
Remember to replace the example location. |
| dd if=insertFreeBSDImage.img of=/dev/disk2 bs=1m | Replace [insertFreeBSDImage.img] with the file name that was downloaded from the RaspBSD website, this can also be done by dragging the file from your file searching app to the Terminal. The command copies the image to the memory stick. This will take a few minutes so sit back and grab a snack. Remember to replace the example location. |
| diskutil eject /dev/disk2 | Ejects the memory stick. |
Step 3: Booting the Raspberry Pi
- Insert the now-configured SD or Micro SD card into the SD card reader on the Raspberry Pi. The card will only be able to be inserted in one direction.
- Connect the USB keyboard, monitor, and power source to the Raspberry Pi. Connect the power source last to avoid booting problems.
- Once the power source has been connected to the Raspberry Pi, the boot process will start. The USB keyboard can be used to enter commands into the shell that will be displayed on the monitor.
- RaspBSD comes pre-formatted so no post-installation formatting is needed. However the main user has been already created and you will need the username/password to login to the shell.
- User: raspberry
- Pass: raspberry
Step 4: Connecting to the Internet
- If you will be using an ethernet cable, plug the Raspberry Pi directly into the network and skip to step 5. However, further configuration is required for wireless setup.
- Plug in the WiFi adapter while the Raspberry Pi is running, then run the commands:
su
sysctl net.wlan.devices
- This should display the wireless adapter that FreeBSD identifies. This guide will use the rtwn0 adapter as an example. You will next need to add two lines to rc.conf, the text editor vi(1):
vi rc.conf
- Adding the following two lines can be done by hitting the ‘a’ key and then entering the rest of the text, the Enter key will allow you to skip to the next line. Remember to change rtwn0 to the name of the device that you saw in the first step.
wlans_rtwn0=”wlan0”

ifconfig_wlan0=”WPA DHCP”
- Once the two lines have been added, hit escape and then type
:wqwhich will save the edits to the file. - Next, you will want to create a new file with:
vi /etc/wpa_supplicant.conf
- Using the same method to add text as the last file, add the following lines, escape, and type :
wqto save your changes. Replace “mywpa” with the network name, and “1234” with the pre-shared key (password).
network={
	ssid="mywpa"
	psk="1234"
}
- If dealing with a hidden network, you will have to configure the wpa_supplicant.conf to scan for networks. This can be done by adding another line to the file like such:
network={
	scan_ssid=1
	ssid="mywpa"
	psk="1234"
}
- Other networks can be added in the same way by adding another entry to the wpa_supplicant.conf. The Raspberry Pi will now try to connect to these networks upon booting.
Step 5: Installing Required Packages
- First the user will have to install cURL to display the weather : cURL will be used to transfer data using the HTPPS protocol, retrieving to information to the server.
pkg install curl
- You can now use cURL to fetch the required information for a weather display, however, it is important to note that it will not function as a full browser due to command line limitation.
Step 6: Fetching Weather Information
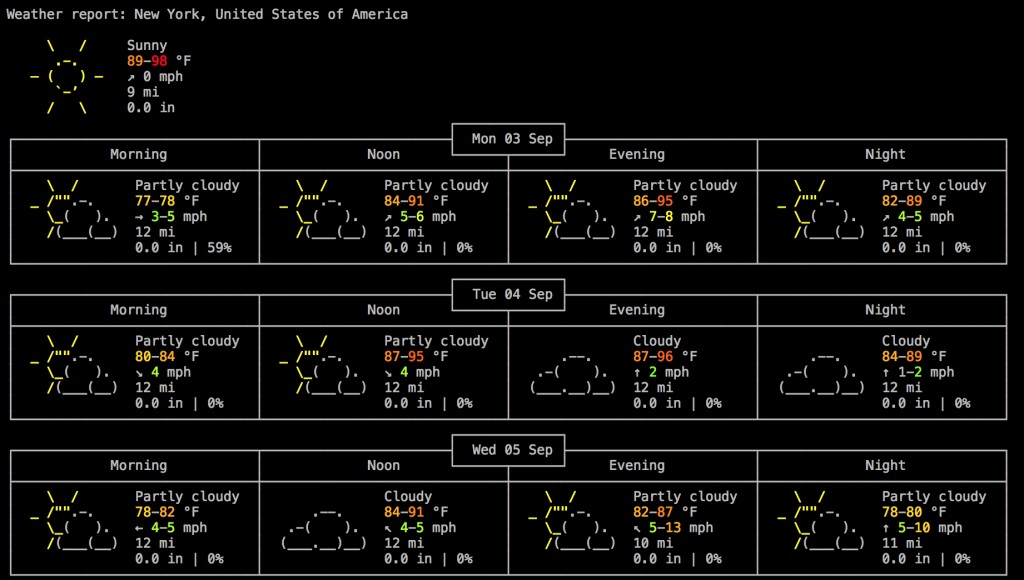
- The website we will be using is specifically developed to be a console oriented weather forecast service, designed to work with ANSI-sequences like cURL. First let’s fetch the full page:
curl wttr.in
- While wttr.in may be able to find your location, the page will fill up your entire screen and be quite useless. Fortunately wttr.in has built in options that help us configure the output. We want to force it to find the right location. There is a range of options that we can choose: (City name, Location, GPS coordinates)
curl wttr.in/Paris
curl wttr.in/~Eiffel+tower
curl wttr.in/-78.46,106.79
- Next we’ll need to configure to output so it fits in the small screen of the Raspberry Pi. Adding the ?1 option will limit the forecast to today + 1 day while the ?n option will activate narrow mode (a \ has to be added before the ? in order to define it as a specific character). These options can be stacked like such:
curl wttr.in/Paris\?1n
- The output should now fit nicely on the screen and you have access to weather forecasts only a command away! This can be made even easier because FreeBSD will remember the last command a user ran. Using the up arrow will allow you to select the same command you just ran.
- You can further tinker with the forecast page by trying out some of the options found here: https://wttr.in/:help play around with the settings till you find exactly what you need.