Last Updated: January 28th, 2026 with FreeBSD 15.0
There are many choices for desktop environments (DEs) and window managers on FreeBSD, some of which are listed in the handbook. If you’re new to desktop environments, we recommend choosing Plasma by KDE on modern systems with 8gb or more or memory. For older systems, or those with less memory, the lightweight window manager Xfce will be more suitable.
The handbook contains instructions on how to install a number of DEs, but if you’re new and would like some guidance, it’s worth using the desktop-installer package. That’s what we’ll cover here.
This guide can also be viewed as a video:
Make life easy with desktop-installer
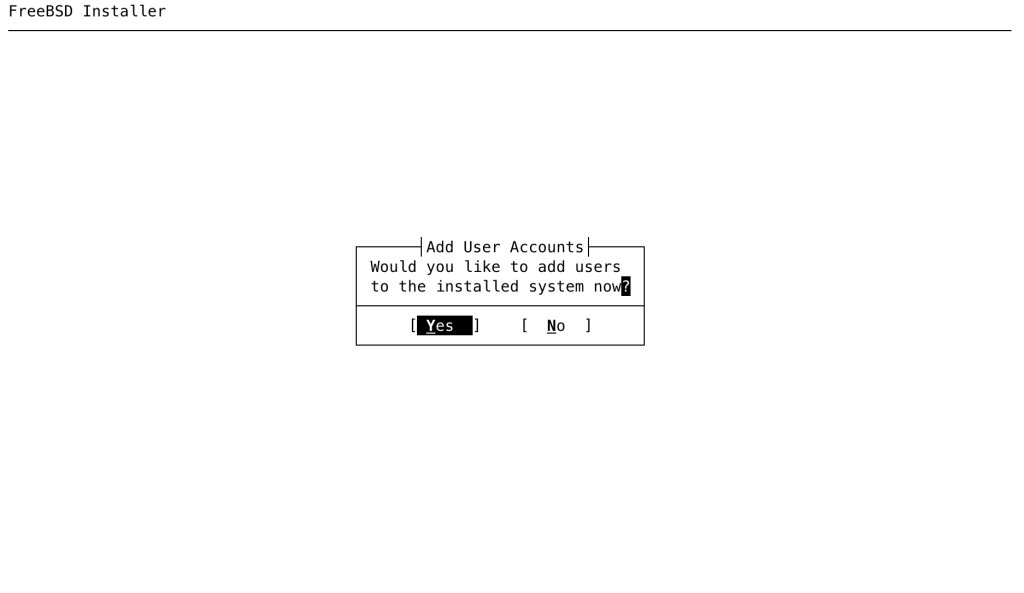
The simplest way to install a graphical UI on FreeBSD is to use the desktop-installer package. Go through the standard guided installation of FreeBSD, adding a user account for yourself when asked. We’d also recommend choosing ZFS for the filesystem, it will come in handy later.
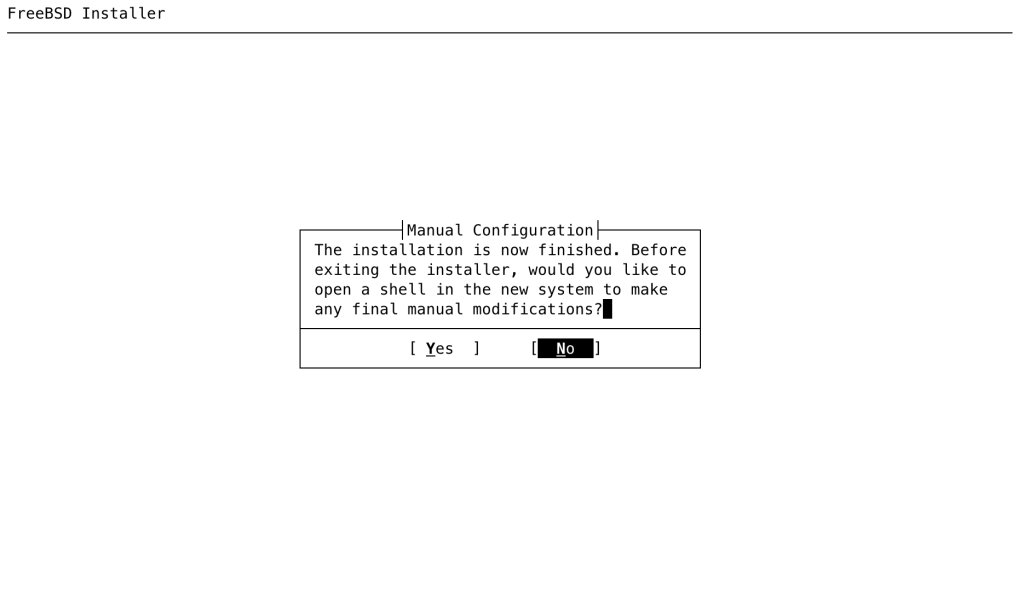
When the installation is complete, one last dialog will ask if you want to do any manual tasks on the system before rebooting. Say yes, and you’ll be dropped to a shell:
Install the desktop-installer package:
This shell is operating in a chroot in the new system. When finished making configuration changes, type "exit".
# pkg install -y desktop-installer
If you think you’d like to tinker with different desktops at a later stage, it’s also worth making a ‘clean’ boot environment at this point (assuming you chose ZFS for the filesystem). This will be a snapshot of this basic installed system, before you add any more packages or do any configuration work.
# bectl list
BE Active Mountpoint Space Created
default NR /mnt 1.07G 2026-01-28 09:31
# bectl create clean
# bectl list
BE Active Mountpoint Space Created
clean - - 8K 2026-01-28 09:36
default NR /mnt 1.07G 2026-01-28 09:31
In the interest of keeping this guide as brief as possible, we won’t go into details about boot environments. However, if you’d like to learn more about them take a look at the video linked at the start of this article.
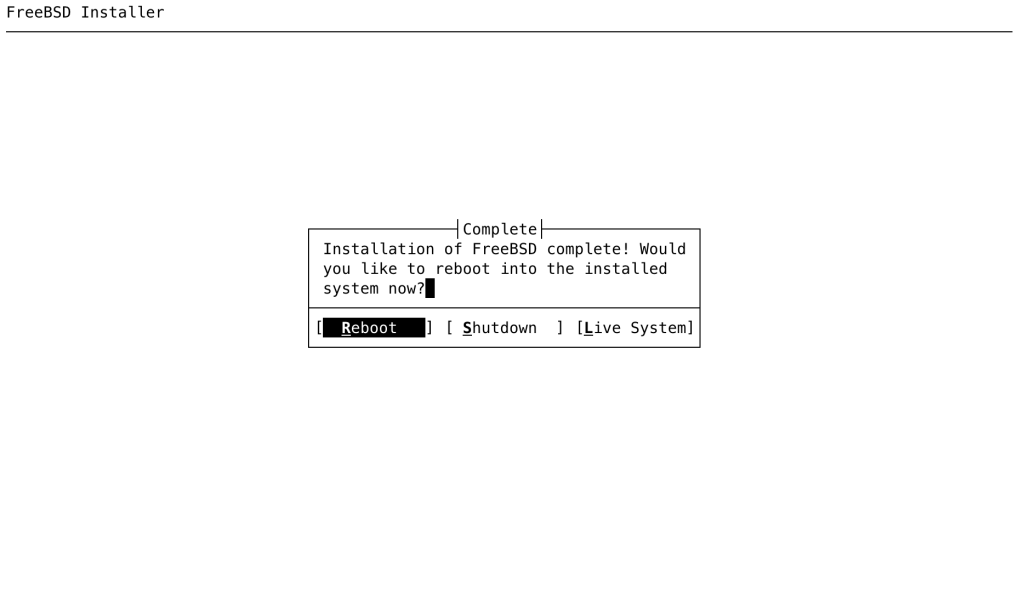
Exit the shell and reboot.
Choosing and installing a Desktop Environment
While FreeBSD has a huge collection of desktop environments users can choose from, this guide will focus on installing Xfce using desktop-installer.
Xfce is a lightweight DE. This simple environment is great for lower-specced machines or devices with memory limitations.
Installing and Configuring Xfce
As root on your freshly installed system, run desktop-installer:
root@freebsd:~ # desktop-installer
===========================================================================
Desktop-installer automates the configuration of a FreeBSD desktop/laptop
system. You will be guided through the process and asked some basic
questions, as well as a few that may require some thought and research.
Desktop-installer may fail at some point due to broken ports or changes
in the base system since the last release of desktop-installer. If this
happens, you can manually fix the issue and simply run desktop-installer
again.
Please report any failures of this nature at:
https://www.freebsd.org/support/bugreports/
===========================================================================
Press return to continue…
The script has guidance throughout, it is recommended that you carefully read all the information it prints up — later in the process there are important steps to get right.
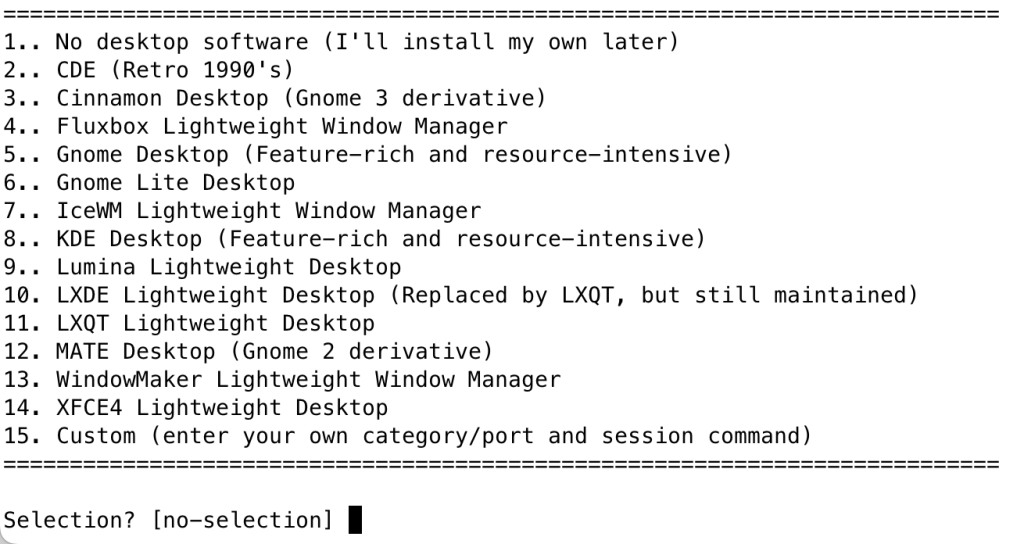
When you get to the choice of a desktop, pick “XFCE4”:
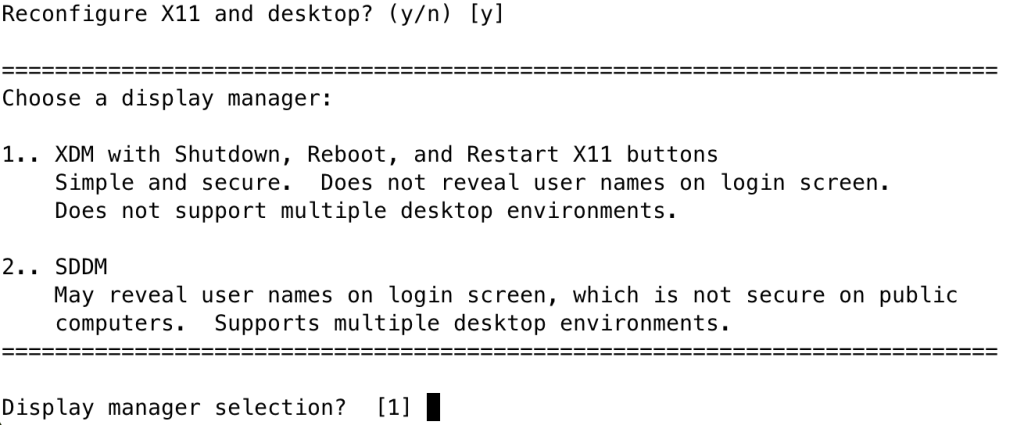
When asked about choosing a display manager, for a lightweight machine running Xfce, choose XDM:
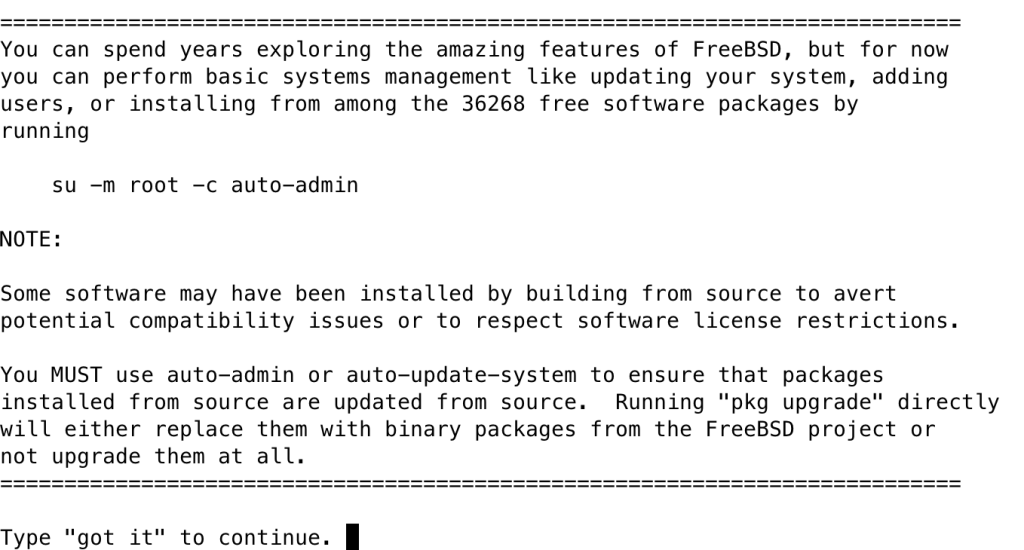
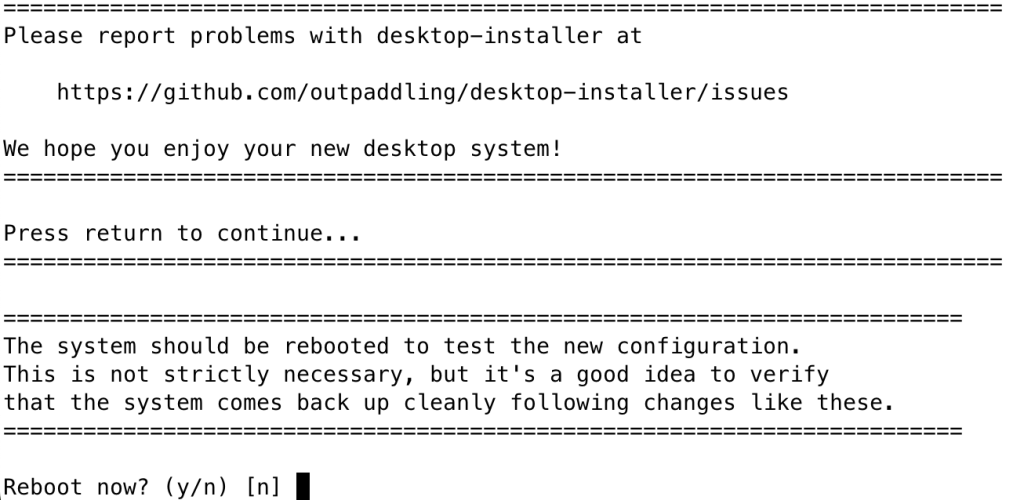
Follow the rest of the desktop-installer process. The last two steps will inform you about the auto-admin tool, which it’s worth remembering, and present a URL for problem reporting:
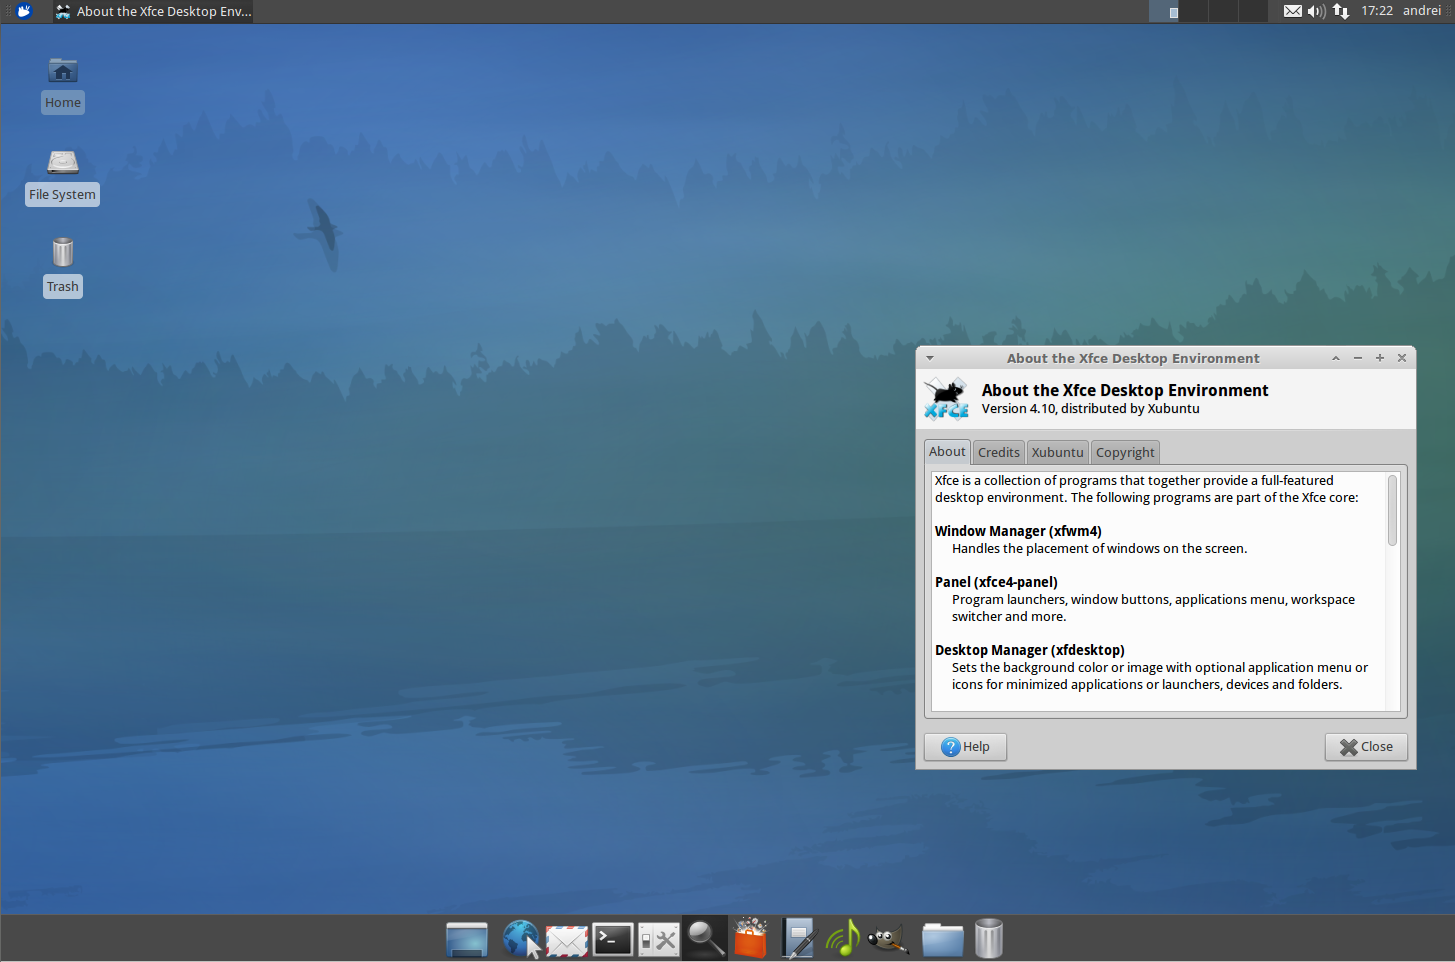
You now have a desktop environment on your computer!
Once rebooted, you might like to check out some of the available applications and ports.
Note: This page will be updated again once the standard install gets a desktop option added. In the meantime, you might like to see this video we dropped on YouTube, about the work in progress on adding a GUI installation option to the standard FreeBSD installer.